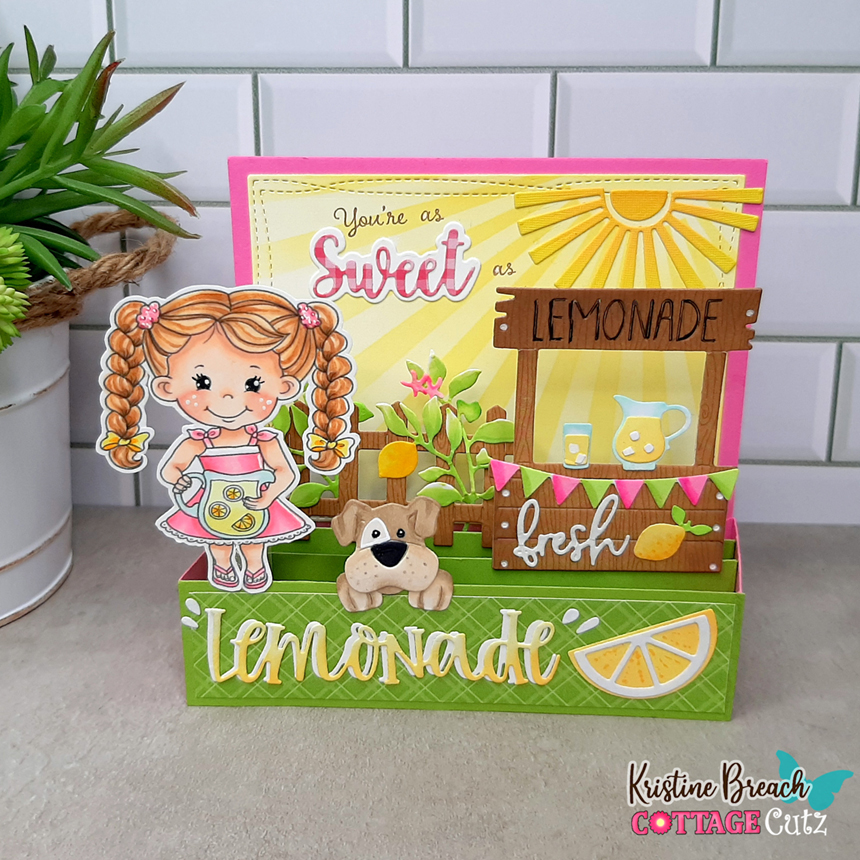
Welcome back crafty friends!
I decided to make a box card this week for the CottageCutz blog. I like them because they are easier than they look and you can fit more dies/images on them to create cute scenes and really gives your recipient a fun surprise! ☺
I've used several brand new sets from the Flowers & More Release -- which are all 30% off for a limited time! I also used a few more dies not from this release, and the cute girl is one I drew quite a few years ago for my own digital collection (pd 2015; not currently available)
CottageCutz Dies I used:
Design Steps:
1. I cut all my cardstock and patterned paper pieces:
Pink Cardstock:
• 4-7/8" square
• (2) 2-1/2" x 1-1/4" - scored 1/2" in on each end; mitered top flaps
White Cardstock:
• die cut the largest Nested Wacky Stitched Rectangles
Lime Green Cardstock:
• 1-1/4" x 4-7/8"
• (2) 5-5/8" x 1-1/4" - score 3/8" in from each end; miter top flaps
Patterned Paper (green):
• 4-3/4" x 1-1/8"
Patterned Paper (pink):
• 1-1/8" x 1-3/8"
2. I stenciled sun rays onto the Wacky Stitched Rectangle with Squeezed Lemonade Distress Oxide ink.
3. I mounted my patterned papers and sun rays to their corresponding pieces as shown below.
*Note: I die cut 2 of the lemonade stand, one in a wood pattern and one in white and glue together to make it more sturdy.
6. I attached all my pieces!
*Note: I stamped "You're as" onto the sun rays panel. Then glued the Sweet w/ Shadow in place. I attached the stand, fence and my stamped girl with a piece of heavy acetate that extended an inch below the die cut/image and attached that to the shelves. You could use cardstock, but the acetate I used is sturdier than c.s. Here's a couple of process photos.
~Kristine


