Happy Labor Day Weekend friends! Today's card is another box card that I made for my daughter, Maddy, back in May and never got it posted until now! But she loves cows and she was super excited to get this one! Before I get to it, I have some great news...
CottageCutz is have a HUGE LABOR DAY SALE!! Up to 65% OFF so many dies - Sale ends Thursday, September 8, 2022 at 9:00 PM Pacific Time so HURRY OVER and save!!!
So... I purchased these adorable Country Farm Cows at last year's Labor Day Sale & right now they are 40% OFF! In fact, ALL of the dies I have used on my card today are 40-60% OFF (except the balloon on the back as it's retired.) I have listed and linked all the products I've used on my card at the end of this post!

And yes, it folds flat to fit into an envelope ☺
I made my own envelope to fit - and match my colors - using the envelope punch board.

Design Steps:
1. I cut a white rectangle using the largest die from the Nested Wacky Stitched Rectangles - then stenciled some clouds with Tumbled Glass Distress Oxide ink. *Optional: I then cut off 5/8" from the bottom of my rectangle to fit the size card I was wanting to make, but it's not necessary.


4. I cut a piece of green for the front of box at 1-1/4" x 4-7/8"


7. I then cut the side flaps down along the score line as shown below:


* For the next few steps, we're not going to do anything with that right flap. Just going to work on the left side.
9. I added glue to the left flap of my side piece and attached the left side of my front piece.


10. Decide which hill you want to be furthest back and add glue just to the left flap and bump it up to the score line of your side piece as shown below, making sure the flap is below the top edge of your side piece.


14. Add glue to the flap of your right side piece and attach your front panel onto it.


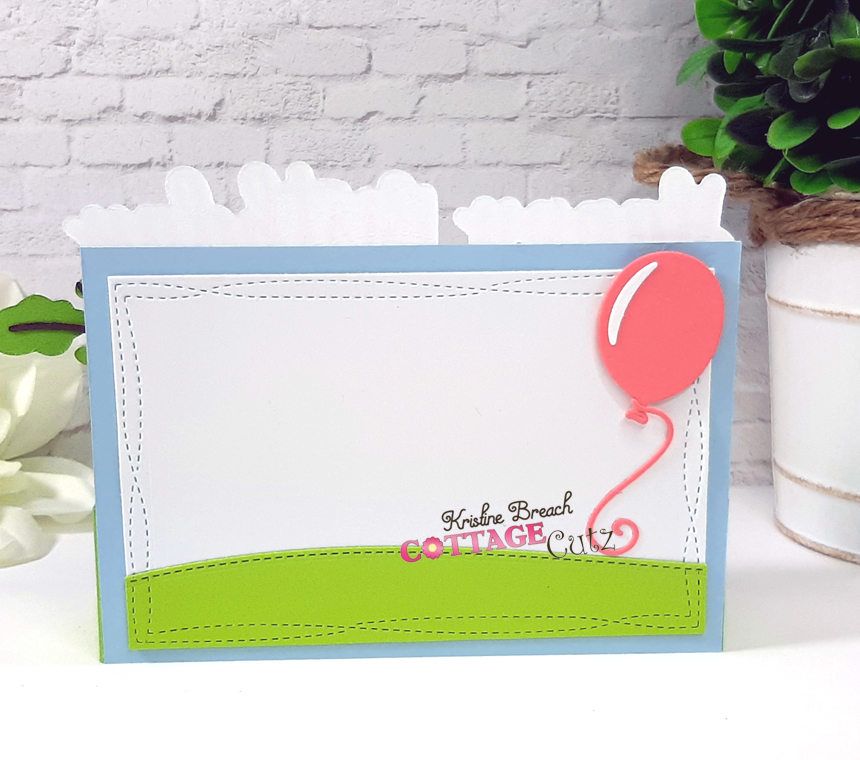
19. For the back of card, I cut a white piece as in step 1, cutting off 5/8" from bottom. Then I cut a piece of green cardstock cutting the top with a Hills die and the bottom portion with the same Nested Wacky Stitched Rectangle die. I also cut a cute balloon and done!

Here are the Products I Used:
I hope I inspired you somehow today to get crafty with your CottageCutz dies!
I'll be back tomorrow with a card from the NEW CHRISTMAS RELEASE!
~Kristine