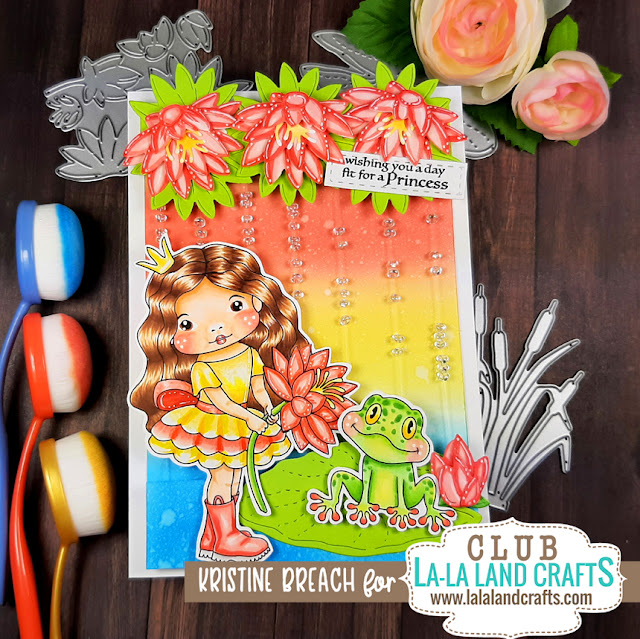
Hello friends! I had a few people message me yesterday about my magical rain shaker card and it turns out I did take pics along the way to do a tutorial last month, but then I changed my mind and did my tutorial on another card instead. But since I have the pics and some inquiries, I thought I'd go ahead and do up this tutorial for you. *Note: this is a photo-heavy post!
SUPPLIES:
• February 2022 Club La-La Land Crafts kit
• a 5" x 7" white card base
- (cut 10" x 7" and score the 10" side at 5")
• a 4-1/2" x 7-3/4" white cardstock for ink blending
• Green cardstock for lily pad and leaves
• White cardstock for stamped images
• Distress Oxide inks (optional, but makes your colorful background look rained on!)
• Water mister or paint brush
• Invisible Thread (I got mine in the jewelry isle at JoAnne's)
• Seed Beads (clear AB in size 10, or 8)
• 1/2" Double sided foam tape
• 1/8" Foam strips (or you can cut your foam tape into 1/8" strips)
INSTRUCTIONS:
1) Stamp, color & cut out your images ☺
2) Cut out some water lilies from white and green cardstock. You'll need 3 of each of the largest 2 dies cut out of green cardstock (or you can use white and color them green!); and 3 whole larger flowers and one smaller flower cut out of white cardstock.
3) Cut a strip of green cardstock that is 4-1/2" x 1" and glue the green "leaves" to it as pictured below.
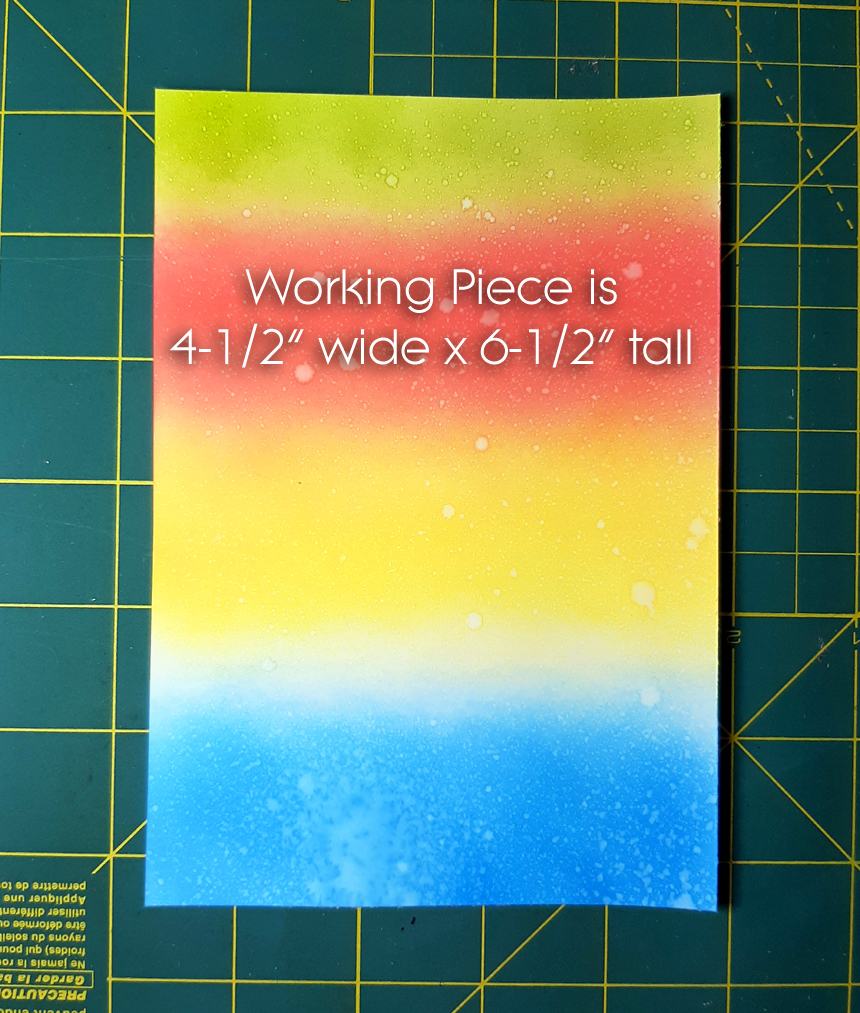
4) With your 4-1/2" x 7-3/4" piece of white cardstock, blend distress inks all over, making sure to do blue (or watever water color you want) for a good portion of the bottom of your card. I used the following colors:
Salty Ocean
Wild Honey
Abandoned Coral
Twisted Citron
- If you used Distress Oxide ink, you'll want to mist with water for a rainy effect ☺
5) CUT OFF 1-1/4" from the bottom of your inked cardstock and SAVE it - we'll need it later on!
6) Place a piece of your foam tape across the top and the bottom of your c.s. about 1/8" in from the edge as pictured below. You don't want it to the very edge or your thread knots will show.
7) Starting at the top, peel back (then fold down) the backing from tape just a li'l bit. Don't remove the whole backing as you'll need it as you go!!
8) Cut 7 pieces of invisible thread that are about 10 inches long. Tie a triple knot at one end and place the knot just above the top of your tape on the left side (as pictured below)
9) Put the tape backing back over the tape and press your thread into the tape, rubbing your finger over the backing several times. This will keep the stickiness of the tape in tact as opposed to pressing your fingers directly onto the tape. :)
10) THE FUN PART! ;) String beads onto the thread. I did varrying amounts on each one, but in hindsight, I wish I had done MORE beads! You don't want to completely fill your strand though, or it won't SHAKE! you want the beads to have room to move up and down.
11) Pull the thread taught... tie a triple knot in the end very close to the bottom edge of your tape, replace tape backing over thread and press and rub thread into the tape. Trim the excess thread close to your knots.
In the photo below, you can see my knot is sitting just outside the edge of my tape. I should have placed my foam tape up a li'l bit higher but it's ok.
12) I hate measuring, so I just eyed the spacing of my threads. You can measure it out if you'd like. What I did was started at the left, then did the middle, then far right.... then I placed 2 threads in between each of those halves.
Below, you can see how I placed threads 4 & 5 in between 1 & 3.
... and here is 1 - 7
13) Now, depending on the SIZE of your beads and how thick your foam tape is, you'll need to build up your foam tape until it's as tall as the thickness of your beads. If it's not tall enough, your beads will get stuck under your images and won't be able to shake.
*Unfortunately, the store at the time did not have size 10 seed beads like I wanted, or even an 8 so I went with a size 6 which is quite a bit larger than I wanted. The higher the number, the smaller the bead. SO... I had to stack 4 strips of foam tape on top of each other at both the TOP and the BOTTOM. (sorry for the blurry pic below)
14) Now you can peel off the top backing from your tape and adhere your green strip across the top.
15) Adhere your excess blue-inked piece of cardstock (that you cut off in the beginning) to the bottom, you might have to position it a li'l bit lower than your beaded layer so it COVERS YOUR KNOTS!
16) Add glue just to the bottom of your green lily pad on the part that will be touching the top blue layer.
17) For Marci... since most of her body is sticking up past the top blue layer, I added 1/8" foam strips in between my threads (make sure your strips clear the beads, you don't want them to hinder your beads from shaking!)
18) Add your images ☺
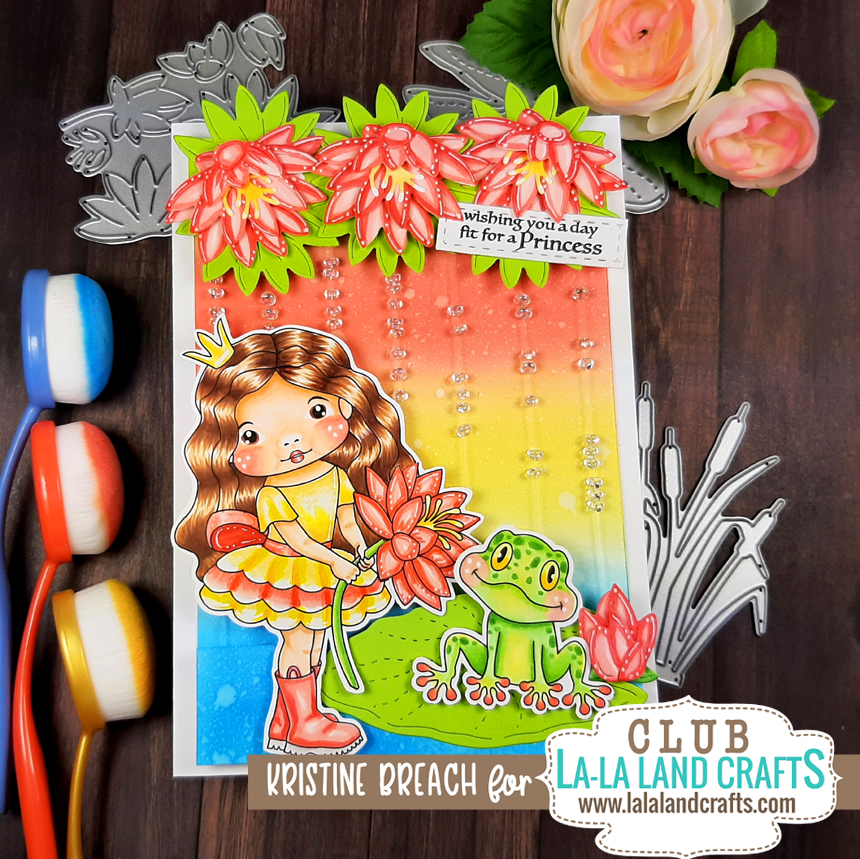
... and here's my finished card! I hope you had FUN creating this magical rain shaker card and are ready to show it off to all your crafty friends! ♥
♥ I hope this tutorial helped someone today ♥
Happy INKing!


