Welcome back! It's my 2nd post for today featuring December's Club La-La Land Crafts kit! If you missed my Shaker Card from my earlier post today, you can see it HERE.
This Double Slider Card is easier to make than it looks and it gives that surprise factor for your recipient without the need to explain to them how it works! (Keep scrolling for tutorial)

When you pull the strings or tab on right side, BOTH side panels are revealed at the same time! How cool is that?!! These Pixies are so cute with Fairy Marci.

Here's a li'l closer up look at the left side. I added Wink of Stella to the pixies' wings to make them sparkle! I also created a tree using the Stitched Hills die and I turned the Grassy Island upside down to resemble the foliage of the tree.

... and a close up look at the right side

In addition to the December Club Kit,
I also used these LLLC products:
COPICS:
Skin: E00, 000, 13, 21, R00, 20, 21
Hair: E50, 51, 53, 43
Teals: BG10, 11, G00
Pinks: R00, RV02, 10,
Wink of Stella on Pixies' wings
CUTTING & SCORING:
Base Card Layer (white) = cut at 12" x 5 1/2" and scored at 3 3/4", 7 5/8", 11 1/2"
Mat on front of card (Kraft) = Die-cut using the largest Scalloped Rectangle Die
DSP on front of card = 4 7/8" x 3 1/4"
Slider panels (Kraft) = 5 1/8" x 3 3/8" (x2)
Slider panels (DSP) = 4 7/8" x 3 1/8" (x2)
1" Circle Die (for pull tab) = I used the 2nd smallest circle
*(optional if you are using a colored base) White cardstock for back of card to write message = 5 1/4" x 3 5/8"
INSTRUCTIONS:
*Note: you may use circle punches and other punches instead of dies for this, but I am showing how I used La-La Land Crafts dies to create this project.
- Cut a piece of base layer cardstock to 12" x 5-1/2" and score along the long side at 3-3/4", 7-5/8" and 11-1/2"
- Lay your open card in front of you vertically with the small flap furthest away from you.
- One the section closest to you, you'll want to measure along each side (the short sides) and make pencil markings at 1-1/4" and 2-1/2"
- Make a straight cut in with your scissors about 1/4" from each pencil mark.
- Cut between your cuts at the 1/4" line

- Next I used a plastic sandwich baggy with side seams and top zippered part cut off. With bag still folded in half, lay it on top of your base and measure the flat space between your recessed cut-outs and cut the strip of baggy that width.
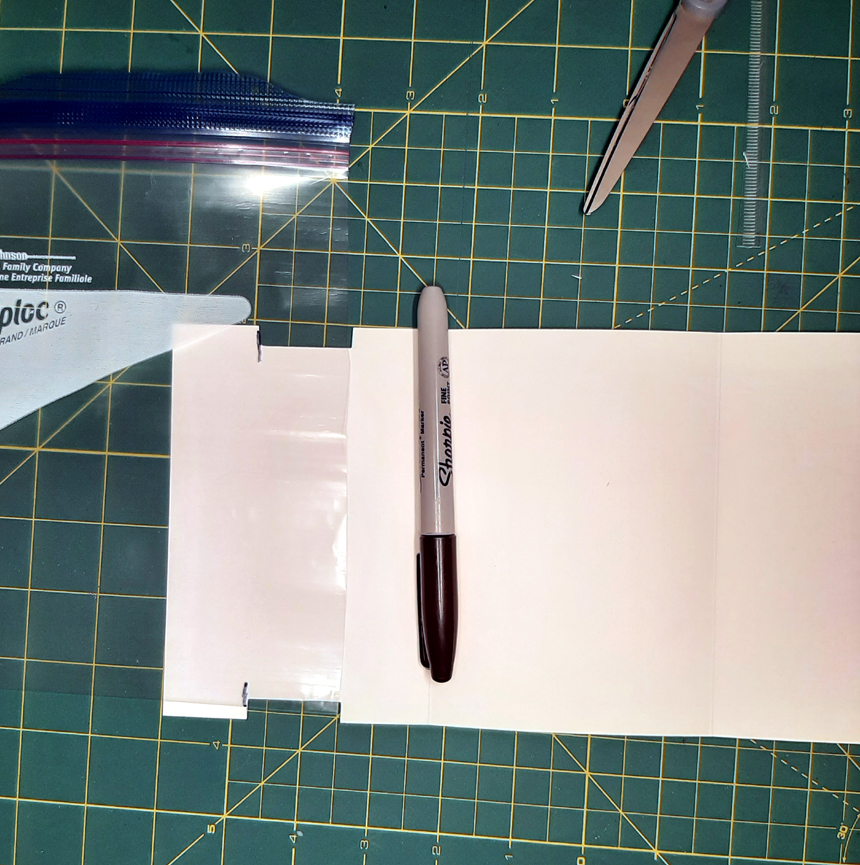
- Wrap strip around the recessed areas and use strong tape (tear n' tape or similar) to stick overlapped ends of bag together. ***NOTE: don't pull it too tightly before taping! You want it to move around the recess easily! Cut excess strip off close to the tape.
- On the RIGHT edge of the 3-7/8" section (closest to the 1/2" edge), measure the middle and place a mark at 1-15/16"
- Take your 1" circle die (2nd smallest in the Stitched Nested Circles set) and place HALF of the circle over the mark you just made and cut out the half circle.

- Attach your DSP to the Scalloped cut mat layer (for the front of card).
- Lay your matted layer on top of your card *DO NOT ATTACH it yet* - so that the right side of your card base has the half circle cut out of it. Hold your front layer on (OR you can use some temporary tape to keep it in place) and carefully turn it over to the back side. Now lay your 1" circle die on top of the already cut out hole and line it up exactly in the same spot. Hold the die down onto the kraft layer and carefully remove the card base.

- Tape the die to the kraft layer with washi tape or Post-It tape or some other low-tac tape and run that thru your die-cut machine.

- Attach your front matted layer to the FRONT of your card base, lining up the cut-out half circles exactly.

- Attach your DSP to your 2 side panels and decorate (or you can decorate them last).
- For the panel that will be on the RIGHT side, fold your 1" circle and wrap it over the middle of the right side of panel, adhere with glue or tape. Punch a hole in the middle and (add an eyelet if you want) run ribbon through the hole.

ATTACHING SIDE PANELS TO CARD BASE:
- Start by turning your card base to the inside (your front panel should be down, facing the table) with the recessed section closest to you.
- Pull the baggy strip so so that the taped seam is to the far right edge, not over the edge, just up to it. Place a strip of tear-n-tape over the seam (where you taped it before). see pic below

- Pick up the panel that will be on the LEFT SIDE of card when pulled out, and hold it with the image facing you (if you decorated it, or with pattern right side up). Place it FACE DOWN (top of the panel closest to you), making sure that it is centered between the recessed cut-outs.

- Fold the card up once.
- Put another strip of tear-n-tape on the far LEFT side of baggy. (don't move the strip before taping)

- Now pick up your panel that will be on the RIGHT SIDE and this time lay it down FACE UP so you can see the designed side. Rub over where the tape was to secure it well.
- Add tear-n-tape or glue to the small 1/2" Flap and attach it to the INSIDE of the back layer, but OVER the kraft panel


- IF you used a colored card base, you can attach your white layer to the BACK of card for writing a message.
- Decorate your card!
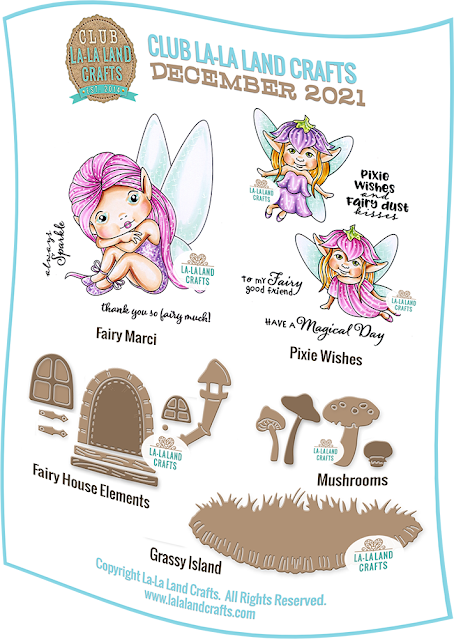
• Fairy Marci Rubber Stamp Set
• Pixie Wishes Rubber Stamp Set
• Fairy House Elements Die
• Grassy Island Die
• Mushrooms Die
If you'd like to start receiving the monthly Club Kits starting with the January 2022 kit, CLICK HERE.

♥ ♥ ♥
*Note: This post may contain affiliate links at no cost to you.
Thank you so much for vising ...
Happy Inking!