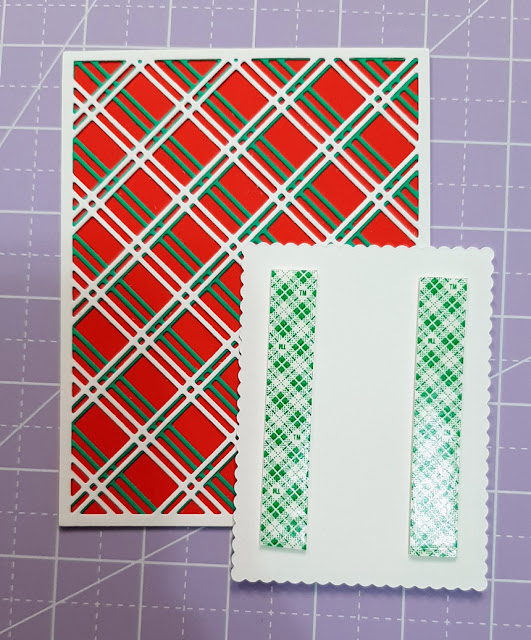
It's so easy to create fun plaid backgrounds with this Trellis background die! Marla shared in her latest video HERE how you can layer the die by cutting 2 and turning one upside down! Easy peasy!!
CUTTING & SCORING:
Red cardstock:
A2 top folding card
Teal Green cardstock:
White cardstock:
2nd largest Scalloped Rectangle
Teal patterned paper with white snowflakes:
3rd largest Stitched Rectangle
DESIGN STEPS:
1. I layered the white Trellis onto the Green so that they are opposite (one upside down), glued them together and then onto my card front. **Thanks again for that awesome tip Marla ☺
2. I glued my patterned paper onto my white scalloped layer, then added foam tape to the back to pop it up a bit to center of my card.
4. I colored my die cuts and assembled.
5. I stamped Merry Christmas (from Let it Snow set at LLLC) to the middle of my pocket.
6. I then added all my elements to the front with 2x the foam tape. I then added some Snow Writer to the Hat trim and puff for lots of dimension. I finished it off with a tiny snowflake in the middle of my peppermint and 4 green gems in the corners.
Such a cute and quick card to make!
I hope you enjoyed this tutorial ☺ Thanks for visiting!
♡ ♡ ♡
Ink Something Crafty!


