Happy Friday friends!!
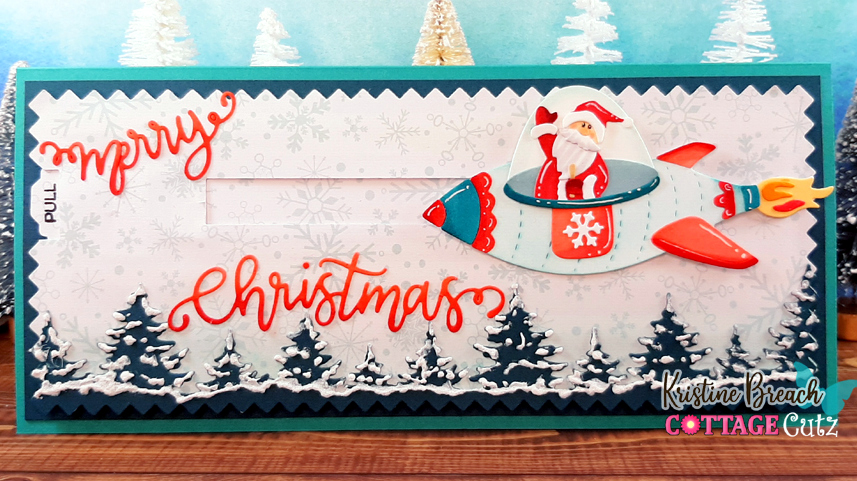
Today I have a slimline slider card featuring the Santa Space Rocket die from the CottageCutz Christmas 2023 Release. All of the individual dies in this release are currently 30% OFF for a limited time!
Pull the slider to reveal an embossed message from Santa ☺
DESIGN STEPS:
• Start with a light teal top folding card base cut at 9" x 8" and scored in half at 4".
• Cut a darker teal mat at 8-3/4" x 3-3/4" and adhered to card front.
• Using the largest of the Pinking Sheer Edge Slimline dies, cut from (1) from dark teal and another from a snowflake design paper.
--Die cut trees from the Mountains & Trees Slimline die towards the bottom of the teal die cut. (Save the top portion for another project). Add Snow Writer (puffy snow) to the trees and set aside to dry.
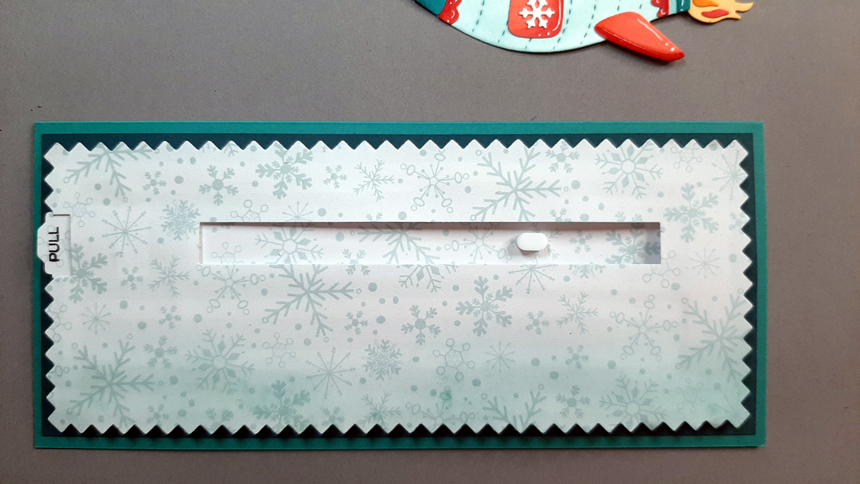
-- From the Snowflake layer, figure out where you want your slider channel to be and die cut the smallest of the Nested Rectangle Slimline set. Die cut the end of the die from the edge as shown below.
• Cut from thick cardstock a slider tab that is 3/4" x 8". Cut the same from Snowflake pattern paper and adhere on top.
--I used a tab punch to cut the end of the tab *optional
• Cut a stabilizer piece from white c.s. at 2-3/4" x 1/2" and loosely wrap around the tab as shown.
• Lay your snowflake patterned paper onto card front and stamp your sentiment in VersaMark in the window and heat emboss with white e.p.
• On the back of your snowflake layer, place tab towards edge where the opening is and glue the stabilizer down between the open edge and the slimline opening. Add 1/8" foam strips very close around the pull tab.
--I also angled the other end of my tab to follow the tail of my rocket so that part of the slider wasn't showing. *optional.
• Remove tape backing and adhere to card front.
• Die cut Santa Space Rocket from white c.s., color and assemble.
• Place rocket towards right edge of card and glue a dimensional or slider disc to the pull tab right under the middle of the rocket.
Ink Something Crafty!


.jpg)

