Happy Monday crafty friends!
CUTTING & SCORING:
• Card Base: (Red) Cut 10" x 7" and score the 10" side at 5" • (Sand) Cut 4-3/4" x 6-3/4" - embossed with lattice embossing folder (Gina K) • (Pecan Pie) Die cut w/ largest Scallop Square • (Red/Blk Buffalo Check from Rustic Christmas by Divinity Designs) Die cut w/ smallest Pierced Square and Merry Christmas w/ Friends • (White) Die cut Holiday Deer and the holly/berries from Ginger Pocket Peeker
♡ ♡ ♡ Ink Something Crafty!
Today I'm sharing a Christmas card using the new Holiday Deer die from the 2023 CHRISTMAS RELEASE!
There are actually 2 brand new releases in store --- one is Christmas (40 designs) and the other is Fall (15 designs) --- they are AMAZING --- and the best news, you can get them ALL in the bundles for 50% off!! But this offer is for a limited time. If you prefer to pick and choose your favorites, the individual dies in each release are 30% off! Ok, onto my card...
DESIGN STEPS:
I layered the Sand/embossed layer onto card front, then I layered the squares and attached to top middle of card.
I used Distress Oxide inks and Copic markers to color up my Holiday Deer and holly berries.
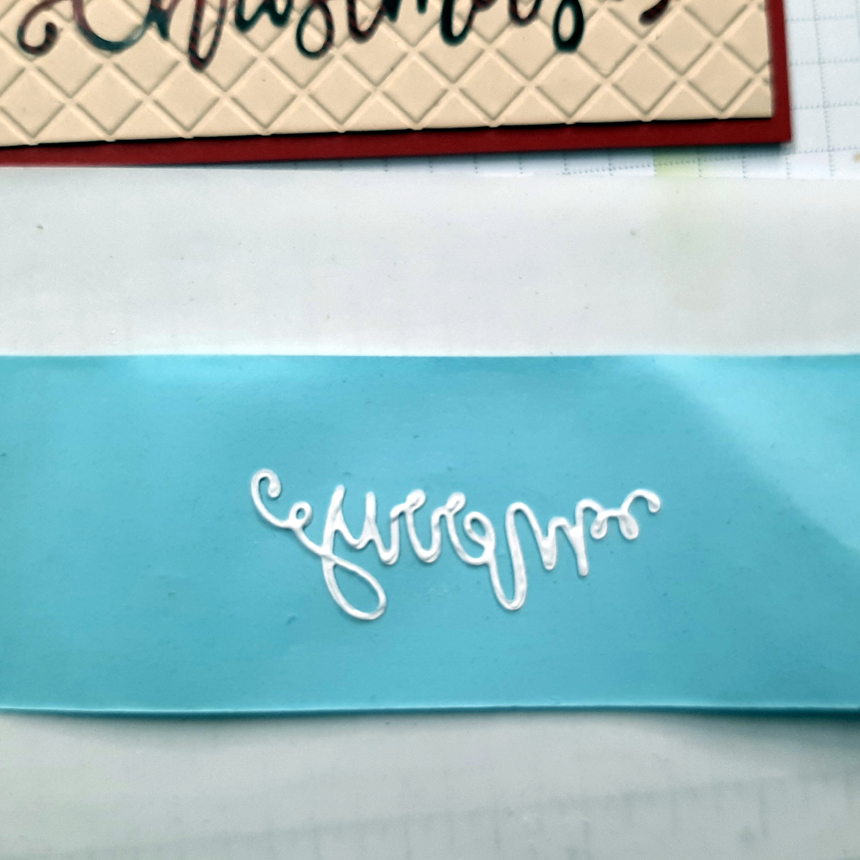
I forgot (as I often do) to use double sided adhesive sheet to the back of my buffalo check paper before I die cut my sentiment, so... the next best thing!! I turned it upside down on the sticky side of some low-tac tape, added my glue to sentiment, then I turned it over and used my lamp light to see exactly where to place the sentiment and Wha-La! Got it on there fairly straight ... and then removed the low-tac tape.
I added the holly/berries to help fill some empty space around sentiment and done! ☺


