Hello Beautiful
This card style was a first for me... it's called a Freestanding Trifold Miura card. I will say in all honesty, that although this card does have that wow factor, as most fun folds do, I found it a li'l fussy to get it to stand up on it's own. The trick is to not stretch it out while displaying it... try to keep it half-way folded.
I chose some beautiful Fall papers (Doodlebug Design) to use with the Folk Art Fox and Folk Art Butterfly and Folk Art Trees.
CUTTING:
Card Base (Lemon-Lime Green) = 10-1/2" x 5-1/2"
Patterned Paper #1 (Leaves) = (cut 2) 5-1/4" x 3-1/4"
Patterned Paper #2 (Plaid) = (cut 2) 3-1/4" x 1-3/4"
White cardstock = 5-1/4" x 3-1/4"
DESIGN STEPS:
Card Base--
-- Score along the 10-1/2" side at 3-1/2" and 7"
-- On the 3-1/2" score line, measure down 2" and place a pencil mark. Score from the top left corner of card down to the 2" mark. Score again from that 2" mark up to the top of the 7" score line.
-- Turn cardstock 180 degrees and repeat Step #2
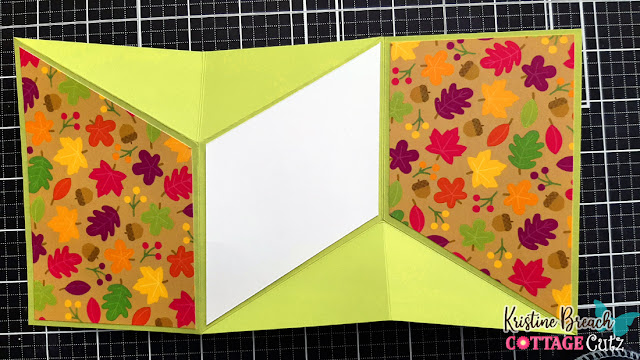
-- Fold and burnish on score lines so that one "V" folds back and the other folds inside the card.
** Below is a pic of the back side of my base, just to show you better where the score and tick marks are (I didn't want to draw on the front side)
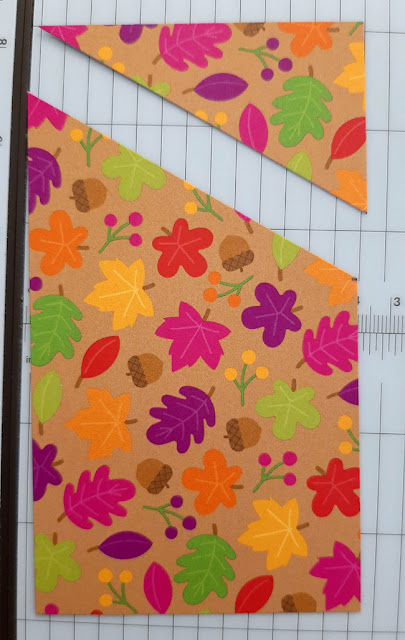
-- With patterned paper #1 vertical, measure down the right side and place a pencil mark at 2". CUT diagonally from that 2" mark up to the top left corner.
**IF your pattern has a random pattern like mine, you can repeat the same process with the other patterned paper #1 piece.
**IF your pattern has a definite up and down pattern, you will need to cut the OPPOSITE angle to fit the right side of card.
-- With white piece vertical, measure down 2" on right side and place a mark. CUT from that 2" mark up to top left corner.
-- Turn 180 degrees and repeat. Adhere to center of card.
-- With pattern #2 vertical, CUT diagonally from top left corner to bottom right corner.
-- On the 2nd one, CUT from top right corner to bottom left corner. (Even if the 2 pattern pieces are the same pattern, you will need to cut opposite diagonals.)
--Adhere to triangle sections on card base.
-- I decided I wanted something for the fox to stand on to break up the patterned paper a bit so I cut a piece of woodgrain paper to 3-1/4" x 4" and followed the same instructions (measured 2" and cut diagonally to the corner) and then I die cut the top with the Hills Slimline die.
-- I chose some stamps and stamped a couple of them following the angles of the papers ☺ Hello Beautiful and Just a note are from the Butterfly Gala set (SU!) and the "You Foxy Thing" came from the Foxy Thing stamp set (La-La Land Crafts).
PRODUCTS:
Thanks for stopping by today! Ink Something Crafty!
~Kristine


