Welcome to a new week of crafty inspiration!!
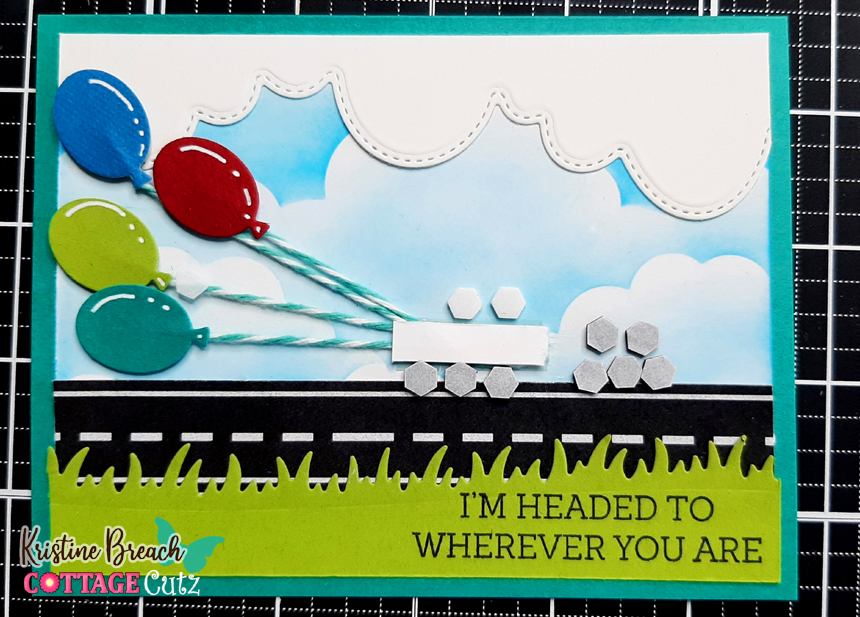
Kris here to share with you a cute and simple card featuring the car from the Spring Bunny Car, the balloons from the Spring Party Car, (both from the latest Spring Release!) and I added some previously released dies such as a dog from the Christmas Puppies, and the Slimline Clouds and Slimline Grass to help create my scene. ☺
I started with this week's Color Challenge at SCS (CC946)
Cherry Cobbler
Pacific Point
Old Olive
Bermuda Bay
Pacific Point
Old Olive
Bermuda Bay
+ the dessert option= masculine
I also used last week's Ways to Use It Challenge (WT946):
Feature a cloud/s - I stenciled them and used a cloud border die!
Design Steps:
• I cut my card base 5-1/2" x 8-1/2" and scored at 4-1/4" for a top folding A2 card.
• I cut a scrap piece of white cardstock to 5-1/4" wide and shorter than 4" which is what I would have cut it to if it wasn't a scrap. I then sponged clouds on it using Salty Ocean Distress Oxide ink.
• I cut a piece of Old Olive c.s. at 5-1/4" wide & die cut the top with the Grass Slimline die, then I stamped a sentiment (from MFT) in bottom right corner.
• I cut a piece of white at 5-1/4" wide and die cut the bottom with the Clouds Slimline die.
• I cut a piece of road patterned paper (Going Places from La-La Land Crafts) at 5-1/4" wide.
• I then die cut my car from Pacific Point, Bermuda Bay and white cardstock and used Copics to color the white pieces. I cut the dog from white and the balloons from each of the challenge colors.
• I then layered them onto my card front as shown below:
• I added some baker's twine in the Bermuda Bay color behind each balloon, then loosely tied them together (I removed this tie later).
• I then added a pop dot behind each balloon and attached it where I wanted them on my card front.
• I then added a strip of Scor Tape where I wanted to tack down the strings (behind the car) and removed the tie.
• I pulled the strings kinda tight and attached onto the tape, then added another strip of Scor Tape over the strings, then a piece of scrap paper to hold in place (and to keep from sticking to the car).
• Next, I added some mini dimensionals (foam hexagons) to pop the car up. This is needed so there won't be that hump where the strings are bunched up.
• Lastly, I added my car and done! Easy peasy!
PRODUCTS I USED:
• Reminder - We're having a Design Team Call!! See this post for details!
• View more design team creations on our YouTube channel here
Thanks so much for looking! I hope this fun li'l card inspires you in some way to use your favorite CottageCutz dies!


