Happy Friday crafty friends!
I'm hosting Day 16 of La-La Land Crafts' 24 Days of Christmas Tutorials!
Today's tutorial is: a Cookies n' Cocoa Tote
If you're thinking you've seen this before, you'd be right! I created a couple of these a few weeks ago that featured products from another company, but I thought it was so cute that I decided to use it for my Christmas Tutorial featuring La-La Land Crafts stamps, dies & papers! Here we go!!
This tote makes a great send-off gift for those guests who drop by during the holidays or use as stocking stuffers! The uses are endless.

PRODUCTS:
Bunny: E50, 51, 53, R11, 00
Bunny Boots: E31, 33
Dog: W2, 3, 5, 100, R20
Cat: N0, 1, 2, 3, R11, 00
Reindeer: E50. 51, 53, 31, 33, R00, 11
Reds: R24, 46, 59
Greens: YG06, 13
CUTTING & SCORING:
White Cardstock:
(1) 4-1/4" x 11, scored at 5-1/2" (tote base)
(2) Die cut two handles with the Largest & 3rd largest of the Stitched Nested Circles Die (the smaller die centered in middle of larger die and tape with low tack tape)
(2) 6-1/4" x 4" -- with longest side at top of score board, score at 1/2" & 1" on each end. Turn so short side is at top of board and score at 1/2" & 1" on just one side. (pockets)
(1) 4-1/4" x 4" -- with 4" side at top of score board, score 1/2", 2", 3-1/2" (connector pc)
Green Cardstock:
(1) Die cut smallest tag from the Large Stitched Tags Die
Patterned Paper:
(2) 3-7/8" x 5" (for top portions)
(2) Die cut 2nd largest of the Double Stitched Rectangles Die (layers onto pockets)
(1) Die cut smallest tag from the Large Stitched Tags Die

HOW TO:

3. Open your tote and slide the glued half of the handles thru the slot - make sure the half showing inside are not glued together.

4. Add glue to the lower half of the handle - leave a li'l space close to the slot opening. Lower the top of your tote onto glued handle and rub to adhere.

5. Flip your tote over and repeat step #4 to adhere the back side.

6. Using scissors, cut off the corner "boxes" that are formed from your score lines intersecting.
7. Adhere your 2 die cut patterned rectangles to your 2 pockets, making sure there equal white border around.

8. Fold and burnish your score lines.
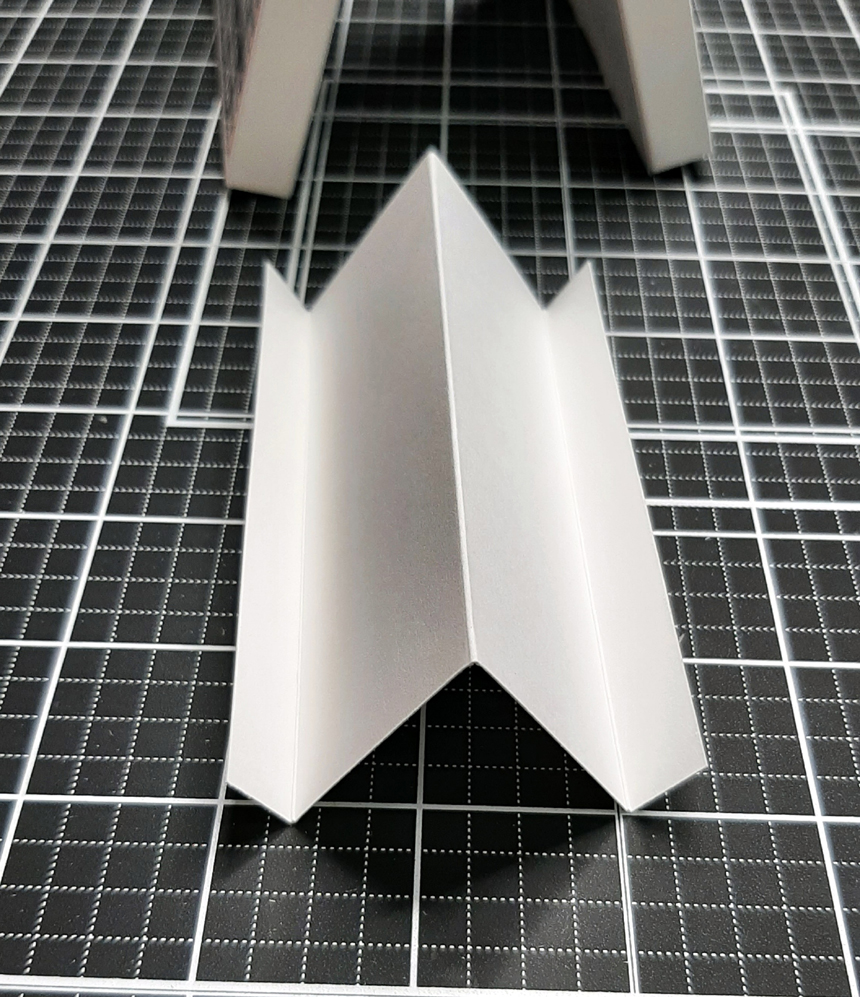
9. Add Scor Tape to the bottom outside flap only and bring your side flaps over making sure they are forming right angles and pinch together. (see photo below)
10. Add glue to the side flaps (*you could use tape, however the glue really helps to be able to move them into the correct position). Attach to the bottom of your tote.


11. Attach your patterned paper to the top portion, over the flaps of your pockets. (repeat with patterned paper on reverse side).


15. Color and assemble your die cuts and images and attach to your tote.

17. Tear the bottom off patterned tag and glue to green tag. Add ribbon and tie to handle.


18. Add a cookie in one pocket and a hot cocoa packet in the other. Would be super cute to dress it up a bit by adding a (wrapped) chocolate dipped spoon with the peppermint candies for recipients to stir the cocoa! :)


|
|
|
|
|
|
|
|
|
Thank you so much for visiting today!
♥ ♥ ♥
Kristine
*Affiliate links may be used at no additional cost to you.