Hey there crafty friends! I'm over on the CottageCutz blog today with a yummy slimline card, fit for a sweet ladybug on your card list! I've used the Lady Bug Cupcake die and Berry Phrases from the new Strawberries & Bees Release!

1. I cut my card base from thick white cardstock at 8-1/8" x 6-1/4" and scored in half at 3-1/8".
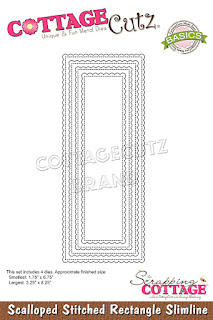
2. I die cut the Scalloped Stitched Rectangle Slimline from red cardstock.
3. I die cut the Windows Slimline from light blue cardstock.
4. I cut a piece of white cardstock at 7-7/8" x 2-7/8"
5. On that single layer of white cardstock, I used a stencil and a blending brush to create clouds up top with Tumbled Glass Distress Oxide ink, and then I added Twisted Lime Distress Oxide ink on the bottom for "grass"

6. Next, I layered that panel to the center of my red scalloped panel. Then I taped that onto the front of my card base.

7. I added 1/8" thick foam adhesive strips to the back of my blue window frames.
*TIP:
To get it on straight, I peeled all the backings off my foam tape and I put it on a wax sheet (the glossy ones that separate the magnet boards from Stamp-n-Storage) --- they work super well for this!! Once I get it centered and adhered at the top, I gently slip the waxy paper out and Voila!

8. I die cut my pieces from white cardstock and colored with Copic markers. Then I glued all my cupcake pieces together.

9. All that's left is to add the CUTE images to my card front with foam tape!
10. I also die cut some sentiments, but in the end, I couldn't fit them on the front so it was perfect for the INSIDE of my card ☺

Hop on over to the Scrapping Cottage blog to see how this card came together and for more inspiration from the team!
PRODUCTS I USED:


And here's the whole release!

Isn't this release SOO CUTE?!! All items in this release are currently 30% OFF!
Happy INKing!