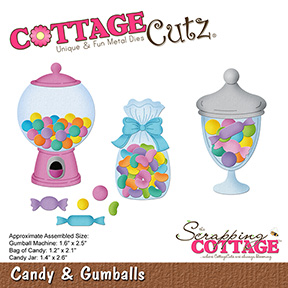
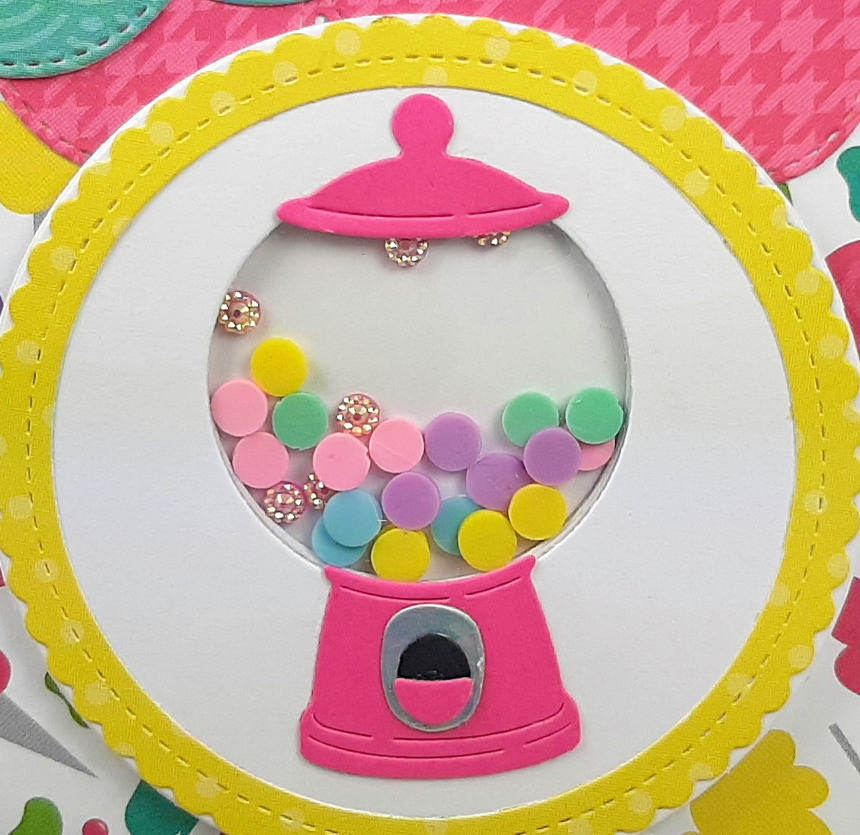
Hey friends, I'm hosting the Sunday edition over at the Scrapping Cottage blog! This week I created a "sweet" gumball shaker card with the new Candy & Gumballs die.
Products used on my card:
Candy & Gumballs die
Pierced Wide Circle Frame Set
Nested Wacky Stitched Circle Set
Clouds Slimline dies
Other:
acetate
patterned paper
shaker elements
foam Tape
glue
*NOTE: You can swap out some of the circle or cloud dies for other CottageCutz dies you have on hand! I just used what I had. Papers I used are from the Candy Land paper pad from Queen & Co.
Design Steps:
1. Cut a card base from thick white cardstock at 4-1/4 x 11"
- score at 5-1/2"
- round bottom corners (I used envelope punch board)
6. Tape the dies in place with a low-tac tape and remove the gumball machine pieces.
- run through die-cut machine
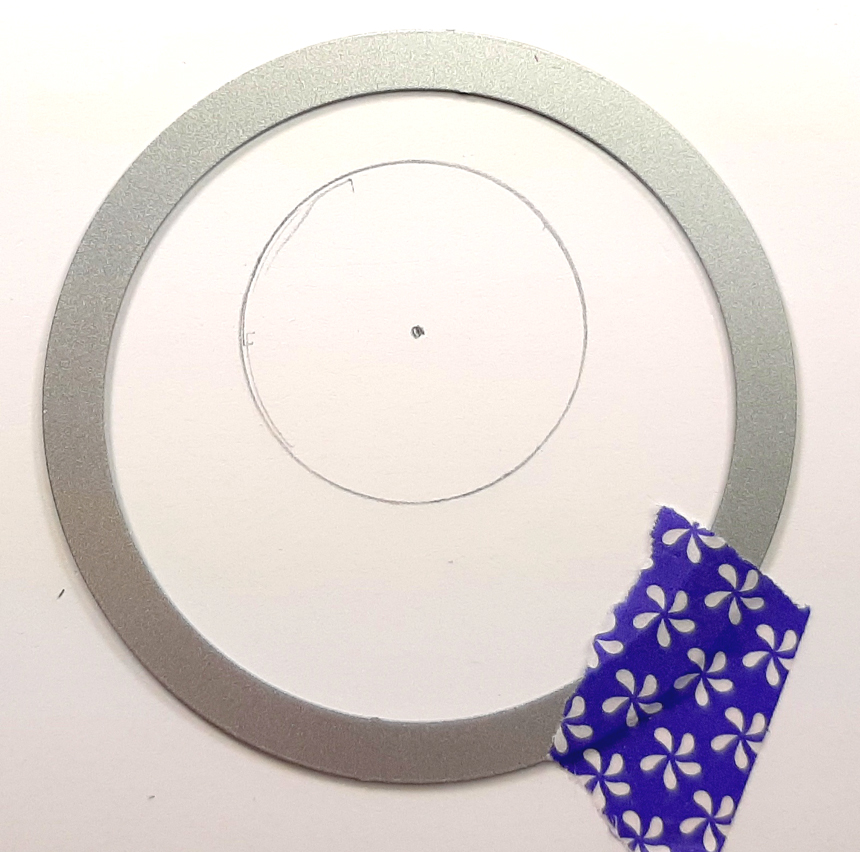
7. Use that first doughnut as a template to create 6 or 7 more (can do less if you're using a thicker cardstock) by placing that doughnut onto another white cardstock and lightly trace inside of smaller circle with pencil and place a dot in the middle.
- remove that doughnut and put your small circle in place & tape with low-tac tape.
8. Set aside ONE of your doughnuts.
11. Turn your stack upside down and add your shaker elements in the center. If your stack isn't tall enough to let your elements "shake", you can cut more doughnuts and add to the bottom of your stack.
Products used on my card:
Candy & Gumballs die
Pierced Wide Circle Frame Set
Nested Wacky Stitched Circle Set
Clouds Slimline dies
Other:
acetate
patterned paper
shaker elements
foam Tape
glue
*NOTE: You can swap out some of the circle or cloud dies for other CottageCutz dies you have on hand! I just used what I had. Papers I used are from the Candy Land paper pad from Queen & Co.
Design Steps:
1. Cut a card base from thick white cardstock at 4-1/4 x 11"
- score at 5-1/2"
- round bottom corners (I used envelope punch board)
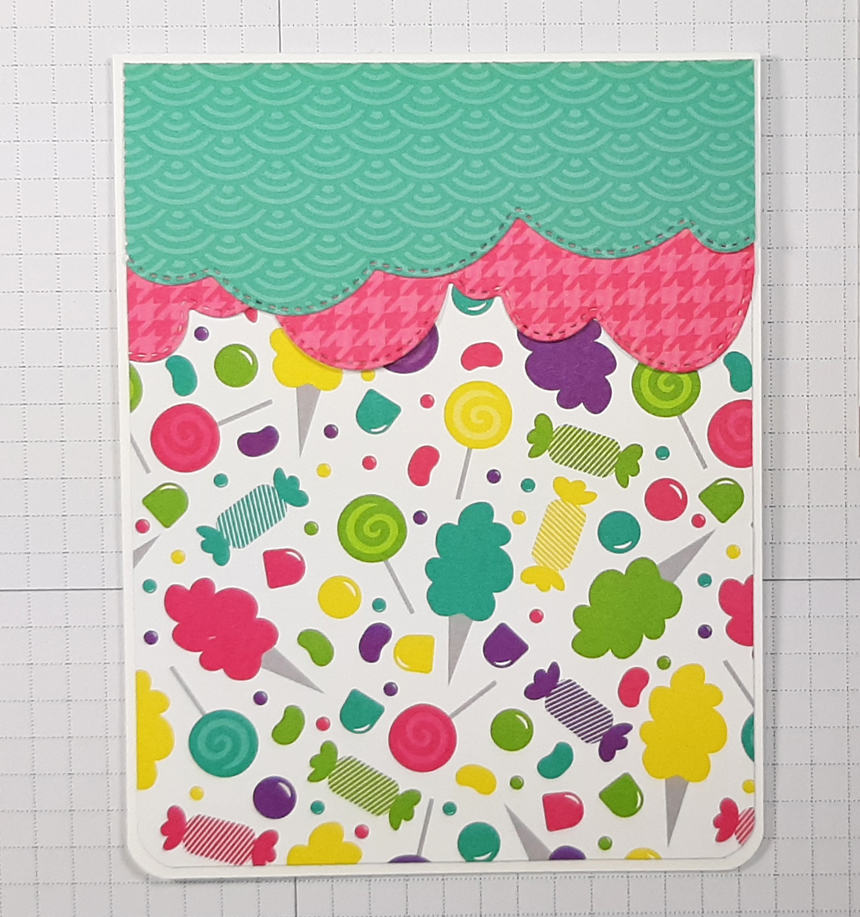
2. Cut a patterned paper at 4" x 5-1/4"
- round bottom corners
- attach to card front
3. Cut (2) coordinating pieces of patterned paper at 2" x 4"
- cut each piece with one of the Clouds Slimline dies.
- attach to card front so that one is slightly longer than the other.

4. Die-cut pieces of your gumball machine. (I originally cut mine from pink foiled cardstock, then switched it out for a solid pink.)
- round bottom corners
- attach to card front
- cut each piece with one of the Clouds Slimline dies.
- attach to card front so that one is slightly longer than the other.

5. Lay out your dies onto a piece of white cardstock as shown below with the smallest of the Pierced Wide Circle Frame Set, and the 2nd from the largest of the Nested Wacky Stitched Circle Set so that the gumball machine is centered (not the circle!)
- run through die-cut machine
*Note: You do not need that die-cut piece of acetate showing in my photo below.
- remove that doughnut and put your small circle in place & tape with low-tac tape.
9. Working with 2 doughnuts at a time, place one on top of the other and move them around in a circle motion using your thumbs inside the circle's edge to feel when the small holes are lined up exactly.
- tape the 2 together with low-tac tape in just one spot
- lift up the open end and glue together. Remove tape and and add glue so it's all adhered
- run your bone folder over it to flatten any glue lumps after adding each doughnut
- tape the 2 together with low-tac tape in just one spot
- lift up the open end and glue together. Remove tape and and add glue so it's all adhered
- run your bone folder over it to flatten any glue lumps after adding each doughnut
- repeat for all but the one doughnut you set aside
9. Cut a piece of acetate a li'l larger than the small circle opening and glue it to the TOP of your doughnut stack.
10. Glue your LAST doughnut (that you had set aside) to the TOP of your doughnut stack - on top of the acetate sheet.
- smooth out any glue lumps with bone folder!
12. Die-cut a white circle using the same size (2nd from largest) of the Nested Wacky Stitched Circles set ---- but don't cut the smaller circle from the middle!
13. With your stack still upside-down. add glue to all the white area and add your solid circle upside-down and centered to the top
13. With your stack still upside-down. add glue to all the white area and add your solid circle upside-down and centered to the top
- set shaker aside to dry with a book on top.
14. Now we're going to cut a scalloped frame for the front! Place the 2nd from the largest of the Nested Stitched Scalloped Circle set on a piece of patterned or solid paper/cardstock and place the middle size die from the Pierced Wide Circle Frame set evenly in the middle and tape both with low-tac tape.
- run through die-cut machine
15. Glue frame onto the front of your doughnut.
- run through die-cut machine
15. Glue frame onto the front of your doughnut.
16. Glue your gumball machine die-cut pieces to the front as shown:
17. Attach your shaker to card front and finish off with a sentiment and embellies!
- *Note: the bow in top corner is also from this Candy & Gumballs die!


Here are the products I used on my card today:

Here's the whole Sweet Treats Release!
Thanks so much for taking a peek!
Hop on over to the Scrapping Cottage Blog to see what my talented teammies have been creating!!
And, you can even subscribe to the CottageCutz YouTube channel!
Have a Blessed Sunday!
~Kristine


Thanks so much for taking a peek!
Hop on over to the Scrapping Cottage Blog to see what my talented teammies have been creating!!
Have a Blessed Sunday!
~Kristine


