Happy Sunday crafters! I've been invited to be a Guest Designer for the next 3 months over at the Scrapping Cottage blog where I'll be showcasing projects using the CottageCutz brand dies!
Right now they've got a new release called Sweet Treats and they are currently 30% off the individual dies - such a deal!
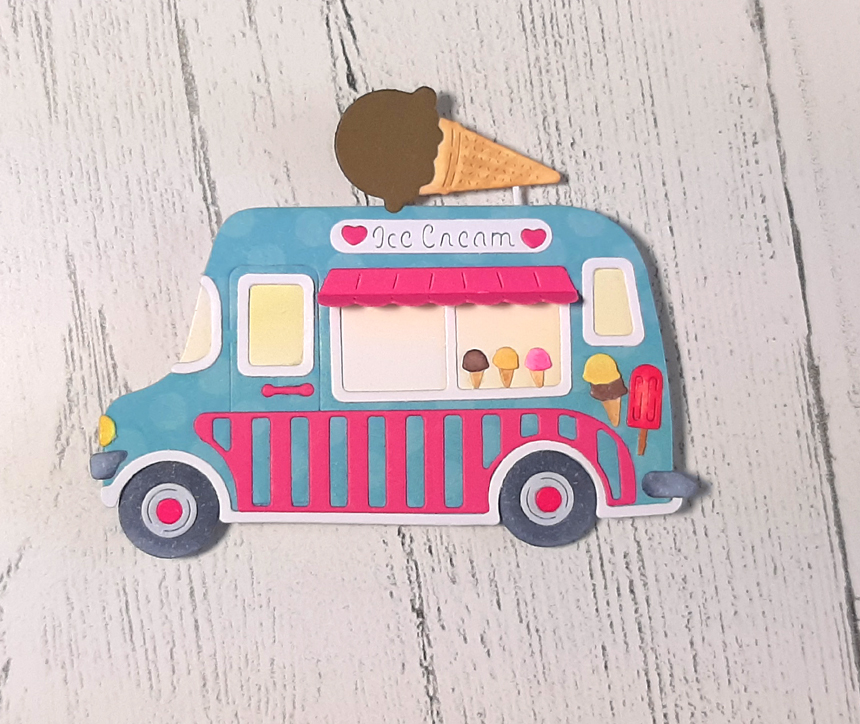
Now you know that I love creating fun folds and interactive cards - but I promise I'll be sharing some simple ones as well. For my first card though, I couldn't help but make this adorable Ice Cream Truck into an easy Pull Tab Slider Card!

You find the list of products I used linked to the store at the end of my post. But for ease sake I'll list them here along with some other tools needed for this project:
Products:
• Ice Cream Truck die
• Sweet w/ shadow die
• Happy Birthday w/ shadow die
• Wishes w/ shadow die
• Clouds Slimline die
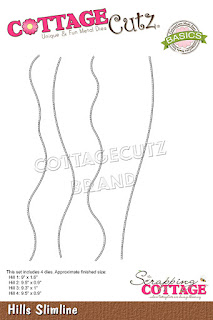
• Hills Slimline die
• Pierced Circle Frames die
Other:
• patterned paper
• stamps of your choice
• ruler
• paper trimmer
• foam strips / tape
Design Steps:
- We all know it's more fun to eat our dessert first.... so I started this project with the FUN stuff! That is... cutting and piecing together my Ice Cream Truck! I had this fun paper with blue and pink ice cream trucks, so I matched it.
- Next, I cut my main pieces of cardstock.
- Card base (grey) is cut at 6" x 12" and scored at 6"
- Another piece in the same color as base cut at 4-1/2" x 5-3/4"
- and a dark pink cut at 6" x 6"

- To make the frame on the front, I measured in 1/2" on every edge (near the corners) and placed a light pencil mark. You'll end up with 4 "X"s near each corner. (if you don't have an "X" then you might need to extend your 1/2" marks/lines a bit until they intersect with the one parallel.) I then used my paper trimmer to CUT between each of those "X"s to end up with a frame.
- Erase mark lines or turn it over to the other side ☺

- I cut a piece of white to 2" x 5-3/4" and cut the very bottom using one of the Clouds Slimline dies.
- I then cut (2) pieces of coordinating designer papers at 2" x 5-3/4" and cut the very top of each with one of the Hills Slimline dies.

- You want to add glue to the (front) sides and top (NOT the bottom) of your cloud border and attach BEHIND your frame at the top as shown below.
- Next, we need to cut a notch out of our frame for our pull tab. (You could do this step before attaching your clouds - I just forgot to do it prior). I used a small circle from the Pierced Wide Circle Frame Set to cut a PARTIAL CIRCLE from the LEFT edge of your frame as shown below. It's important that you cut from the left side because it you do it on the right, your truck will be driving backwards! ☺

- Now we need to cut the same notch out of our card base in the exact spot we cut the frame. SO... you want to lay your notched frame on top of your CARD BASE making sure everything lines up and fold is at the top, then lightly draw the outline of your notch onto the card base and cut the notch using the same circle die as we did in the previous step.
- I then taped my 2 pieces of patterned paper together and added adhesive to the (front) sides and bottom (NOT the top!), then placed BEHIND my frame at the bottom ***NOTE: lay your truck in the middle first so you know how far down to attach your patterned papers.
- Next, I placed my 4-1/2" x 5-3/4" grey slider piece behind my frame, but FLUSH with the left hand side and centered between the top and bottom. You can write or stamp "PULL" where the tab dips down, OR draw an arrow going to the left to let your recipient know to pull.

- Now remove your slider piece and set it aside.
- Reminder - our frame is just sitting on our card base - it is not attached yet!
- Decide what you want to have revealed when the truck is being pulled! I stamped a "YUMMILICIOUS" sentiment and some confetti . To find the placement, I laid my truck onto my card and off to the left - see photo below for placement. Now you can see how much space you have and decide what you want to fill that space with! ***It's best not to have too much dimension as it may prevent the truck from sliding back into place. Flat stamped images are best!


- Now we can add our foam tape to the back. Again, line up the slider (from the front) so that your arrow or "PULL" is lined up in the center of your notch and the edge of slider is flush with edge of frame... and the whole piece is centered between the top and bottom edges of card on the back. To keep it in place, I added some purple low-tac tape.
- To the BACK of your frame, add foam tape to the 3 sides close to your slider, but not TOO close or it won't slide well. (Don't tape the edge where your notch is cut out.)

- And now we can add our truck! You'll want to pop it up with foam strips/tape so it goes over our frame on the edge. Start your strips in a li'l ways as shown below so that our truck will go over the frame a li'l bit. That way we know it will reveal our whole stamped image.

- Attach your truck to the far RIGHT of your card but make sure your foam strips/tape does not go onto the frame! I added some fairly flat sprinkles to fill the space on front and added my "Sweet Birthday Wishes" using the words with shadow dies (linked below).

Here are the products I used on my card today:


Thanks for viewing my post!
Please leave me a comment below - I'd love to hear from you!
I hope you get time to "Ink Something!"
~Kristine