
Box cards are a fun way to create a scene and give your recipient a wow factor when opening their card. This one is a mini slimline sized box card... and I decided to have the orca whale jumping out of the water and diving back in (an easy swinging arm style).
I've used the Arctic Whale & Narwhal and the Waves Slimline CottageCutz dies from the Scrapping Cottage. You can see a clip of how it moves by scrolling down a li'l bit. ☺

and here it is in action ☺
(sorry for blurriness, got a bit out of focus)

Kids love interactive cards and I really enjoy making them. I should say though, that when I started this card, I was just making it a mini slimline box card. It wasn't until after I had the box card put together (except for the whales) that I decided it would be so easy to make the whale "jump" out of the water! So keep in mind, it would be easiest to add the swinging mechanism BEFORE you add the shelves and I will note that below when the time comes. ☺
CUTTING & SCORING:
• From white cardstock, I cut:
-- back panel at 3-1/4" x 4-7/8", then sponged clouds with Distress Oxide Ink and a stencil
-- (1) strip at 1/2" x 4-5/8" to stamp sentiment on front
• From darker blue (Pacific Point) cardstock, I cut:
-- (2) pieces for the sides of my box at 1-1/2" x 1-3/4" and scored at 1/2" along the short edge
-- (1) strip for the front at 3/4" x 5-5/8" and scored at 3/8" from each end
-- (1) piece 4-7/8" wide x 2-1/2" tall, then die cut the top with the Waves Slimline
• From Lighter Blue (Tahitian Tide) cardstock, I cut:
-- (2) pieces at 4-7/8" wide and differing heights, then die cut with Waves Slimline
-- (2) pieces at 5-5/8" wide x 3/4" tall and scored at 3/8" from each end
*not pictured in 1st photo, but shown in the 4th one down.

For the side pieces, I placed a mark at 3/4" from the opposite edge of the score line.
--You'll want to measure one of the pieces 3/4" from the right edge, and the other 3/4" from the left edge.
Then I CUT diagonally from that mark up to the top of the score line.
--You can do this with a trimmer or with your scissors.

After I cut those diagonals on the side pieces, I erased my pencil marks and folded them so they are descending toward the middle as shown below.
I stamped a sentiment onto my white strip and adhered it to my blue front piece.

Next, I glued my 2 side pieces to the sides of my cloud layer so that the score line is on the edge of the cloud layer and the bottom edge is even with the bottom of cloud layer as shown below.
I then glued my darker blue waves panel so that the lowest dips of the waves are covering the flaps of my side panels as shown.

***NOTE: if you want to make it interactive, NOW would be a great time to add your mechanism! I added it after my box card was glued together, so you can scroll down to see how I made that and you can insert those steps here to make it easier if you'd like.
Scroll until you see the 3 ***s
------
Next, I added glue to the left flap of my front blue panel and attached it to the inside of my left side piece as shown below.

Next, I added glue to only the left flap of my 2 lighter blue shelves and attached the first one so that the edge of my flap bumps up against the left edge of my blue wave and lower than my side piece. The front blue shelf, I bumped up against the fold of the previous shelf, and lower than the side piece as shown below.

I folded all 3 to the right and added glue to the right flaps at the same time.

Then I folded the right side piece over onto them.
It should line up perfectly with the front panel.

Next, I decided to add some white pigment ink to the tops of my lighter blue waves with a blending brush.

Then I added glue to my 2 lighter blue shelves and attached my waves.

Next, I die cut my Arctic Whale & Narwhal, and a red heart from the Stitched Heart Set. I colored the narwhal with Copics.

***This is the part where I added a swinging mechanism to my Orca whale. You can do this BEFORE you add your shelves to make it easier, but if you've already done that part like I did, this is still pretty easy to do.
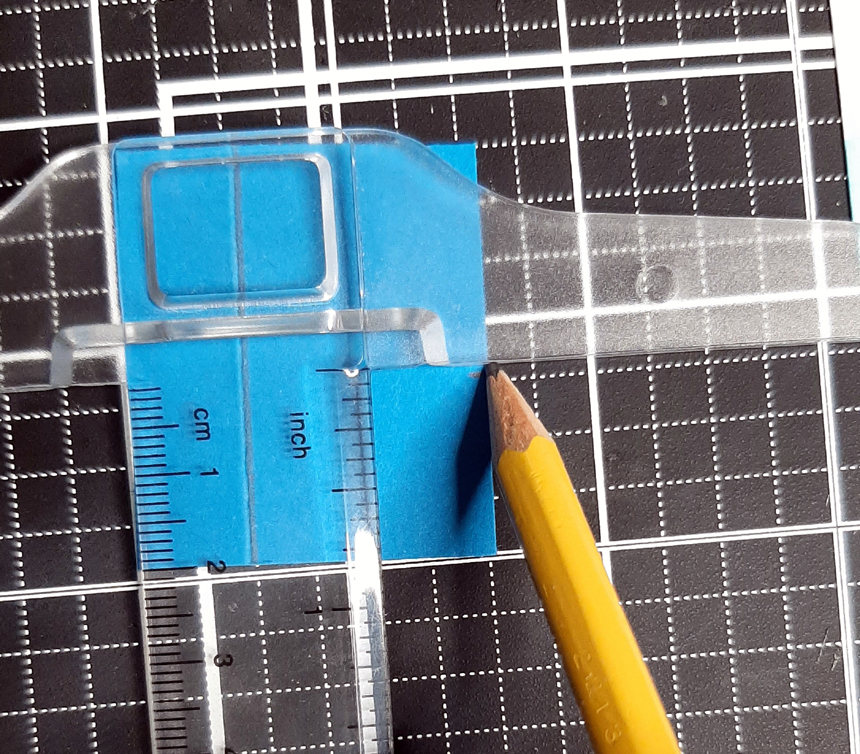
I cut a piece of heavy acetate into a strip about 3/4" wide and punched a hole towards the bottom using a hole punch. You might need to use a small circle die. *It doesn't show in this picture, but I ended up trimming the bottom a li'l closer to the circle cutout and rounded the corners so they don't show when it is swinging.

I then glued a spinner disc (a small circle plastic disc) as shown. If you don't have these, you can use any small circular thing with dimension like a tiny button! Make sure you wipe away any glue that leaked after you press the disc to adhere.

Next, I laid my acetate strip with the hole over the disc (or button) then I cut a li'l bit larger circle disc (the smallest from the Pierced Circle Set) to glue on top of the button. This circle prevents the acetate strip from popping off our disc/button!

Next, I brought the acetate strip up --- it should be between our back darker blue wave and the lighter blue wave just in front of it, and I added 2 pieces of Scor Tape where I wanted my whale to be. Then I trimmed my acetate strip just above the tape and attached my whale to the strip.

One last piece.... to prevent the whale from diving down past the bottom of the card, I inserted a foam strip to the left of the acetate strip at the point I wanted it to stop. See photo below.

and done! ☺
PRODUCTS I USED:


It's a lot of photos, but it comes together super quick! I hope you enjoyed this tutorial and you'll give it a try. ~Happy Inking