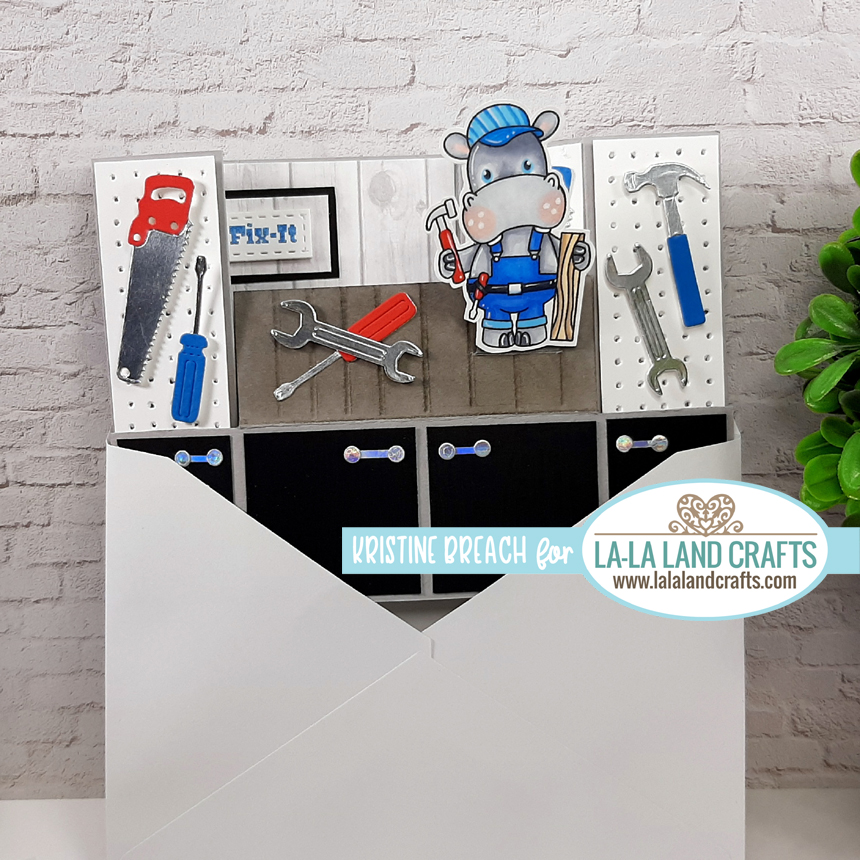
Welcome back! This is my 2nd post for today and it's more Father's Day inspiration for you using some new products from La-La Land Crafts! All products will be linked at the end of my post!
This is my first time making a Bench Fold Card - and it came to mind as the perfect fold for this new Nailed It stamp set! These hard working hippos in this set are just SOO CUTE!! I have several photos to share of how this came together!
If you're not familiar with this style card, that work table part (dark grey wood) that the hippo is standing on can be popped up from the under side so the card can be folded flat for mailing! There is a piece of cardstock glued under it (on the card base) so it keeps the table from going any further when pushed down into the position it is in the photo above.
*NOTE: This is prolly the type of card that if given to a non-crafter, you might need to show them how it is to be displayed, either in person, or sometimes if mailing, I include a photo of the card (in displayed position) inside the card or envie so they can see how to display it.
OKAY, moving along! The next photo shows how the working table popped up (from the underside) and how I cut a slit (with my craft knife) where I wanted my hippo to stand. I made sure he cleared the "Mr. Fix-It" sign!
Next, I cut a piece of heavy acetate and scored it on one end - that scored part will be inserted into the slit I made, and adhered to the underside of the moving table piece as shown below (the short scored part facing the front of table, closest to you).
Next, I pushed the table down into place (again, it's resting on a piece of cardstock underneath to keep it straight) and added some foam dots to the front of the acetate and popped my hippo onto them.
here's a view from the top :)
For the cabinet handles, I used the circles from the top of the Large Stitched Tags and added a tiny cut line of silver cardstock to connect 2 circles together. You'll see on the back, I added a pocket with a tag that pulls out for a message.
These next 2 photos shows it folding flat for mailing!
For a complete tutorial, you can search Youtube! There's lots of different ones to choose from!
PRODUCTS USED:
Nailed It Clear Stamp Set
Tools Die
Horizontal Pocket Die
Large Stitched Tags Die
Merry & Bright Paper Pack
COPICS:
Greys: C1, 3, 5
Blues: B02, 05, 24
Reds: R24, 46
Tools Die
Horizontal Pocket Die
Large Stitched Tags Die
Merry & Bright Paper Pack
Greys: C1, 3, 5
Blues: B02, 05, 24
Reds: R24, 46
WANT MORE NEW RELEASE INSPIRATION?
Hop on over to the La-La Land Crafts BLOG or our FB Fan Group to see what the rest of the Design Team has been creating with this Release!!
Happy Inking!
♥ ♥ ♥
*This post may contain affiliate links at no cost to you.


